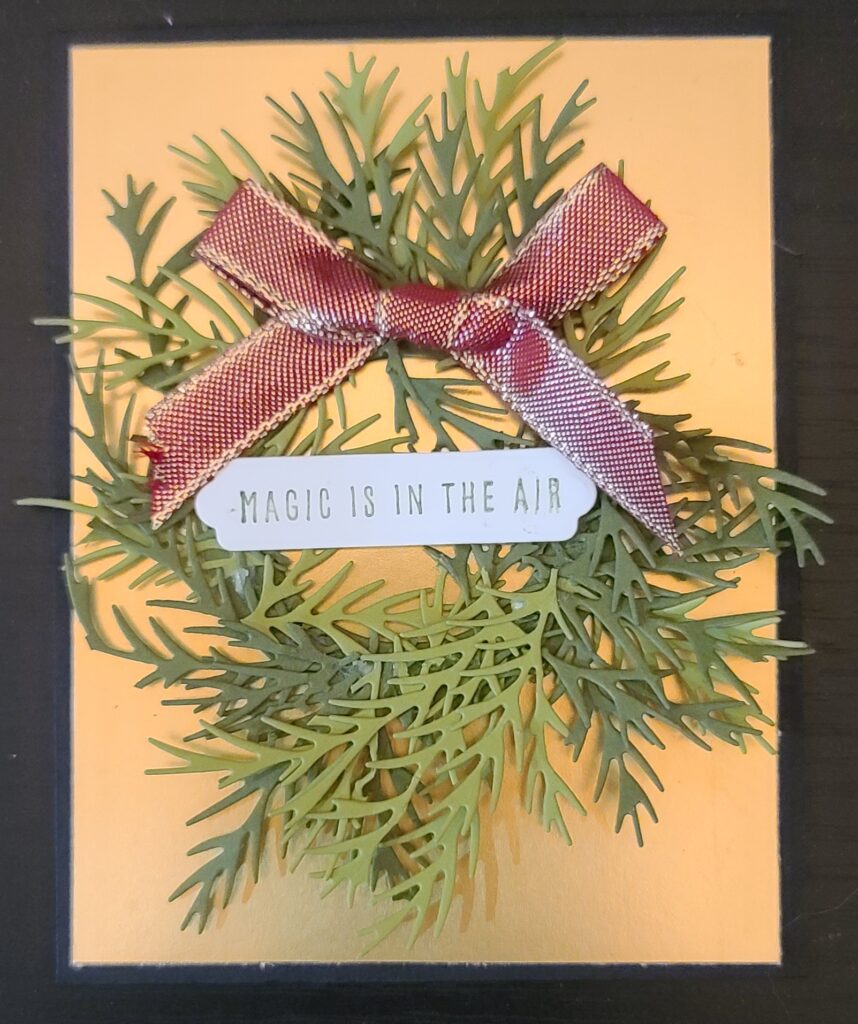
Basic Black base 4 ¼”x11” scored 5 ½”
Basic White 5 ¼”x4” & ½”x 3”
Mossy Meadow (2) 5 ¾” x 4 ¼” & 3” square
Old Olive (2) 5 ¾”x 4 ¼”
Gold Foil 5 ¼”x 4”
Cherry Cobbler Metallic Ribbon 10”
Layer circles 3rd largest & 3rd smallest
Christmas Branches & small tag die
Mossy Meadow ink
Glue/seal/dimensionals/glue dots
- Attach the Gold foil to front of the card with seal
- Attach the BW 5 ¼”x4” to the inside of card with seal & & set aside
- Tie a bow with the ribbon and clip the tails & set aside
- Stamp the sentiment on the ½”x3” in Mossy Meadow ink and cut with the tag die emboss & cut machine & set aside
- Center the layering circle dies on the 3” square of mossy meadow and cut with your emboss & cut machine & set aside
- Center the Christmas branches on the Mossy Meadow & Old Olive card stock 5 ¾”x 4” and with your emboss & cut machine. Once you have that done, cut them apart starting at the pinecones. Set the pinecones aside for use on another card.
- Once you have them cut apart start gluing them onto the circle you cut. Making sure the branches don’t go over the card. You can use your silicone mat over the card. I didn’t do that.
- Adhere the ribbon at the top of the wreath with glue dot on the front of the card. Adhere with wreath with dimensionals to the center of the card…trim if necessary
- Adhere the sentiment over the center of the wreath with dimensionals.
- Stamp sentiment inside the card in Mossy Meadow ink
Granny Apple Green base 4 ¼”x11” score at 5 ½” & 1”x4 ¼”
Basic White (BW) 1”x4 ¼” & 5 ¼”x4”
Be Dazzling (or) gold foil 5 ¾” x 4 ¼”
Christmas Branches & large tag die
Real Red ink
Glue/seal/dimensionals
- Stamp sentiment on BW 1”x4 ¼” & cut with large tag die
- Cut the GAG 1”x4 ¼” with large tag die. Adhere offset to top BW add dimensionals & set aside
- Cut the Be Dazzling (run thu 5 times) or gold foil with the Christmas branches dies. Adhere with glue to the front of the card
- Adhere the BW 5 ¼”x 4” inside the card
- Adhere the sentiment to the front of the card – top third, about ½” from right side
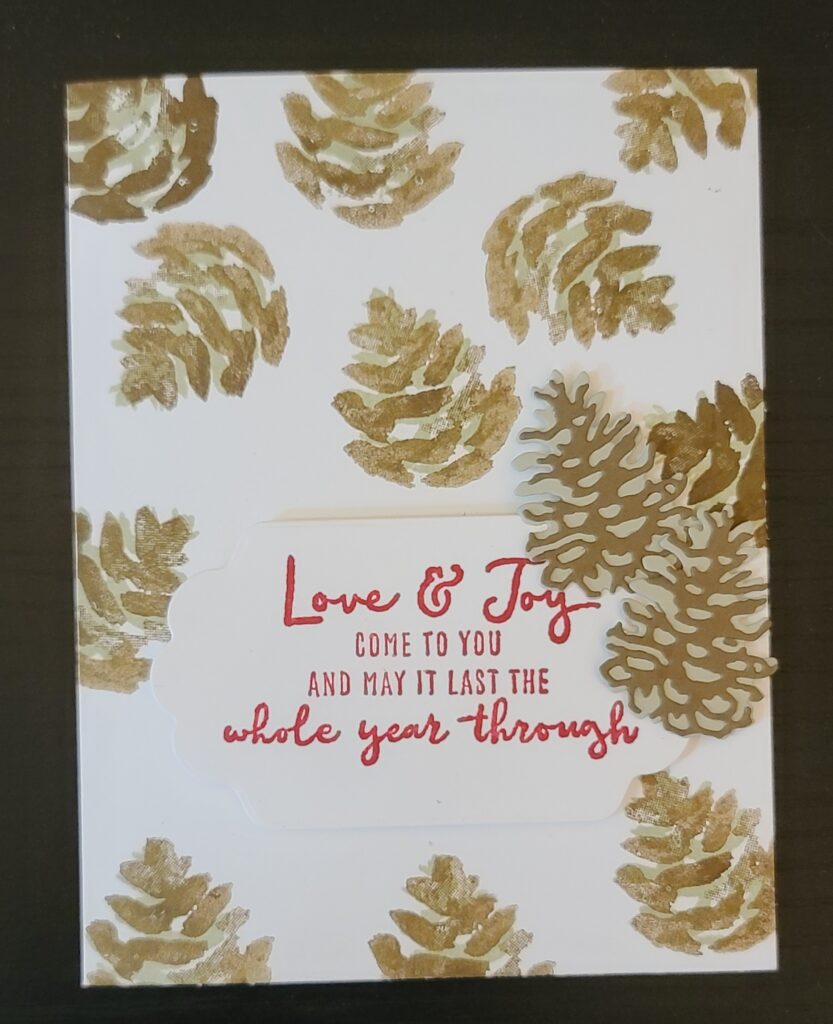
Thick Basic White base 5 ½”x 8 ½” score at 4 ¼”
Basic White (BW) 4”x 2 ¼”
Soft Suede 1 ¾”x 2 ¼”
Crumb cake 1 ¾”x 2 ¼”
Crumb cake & Soft Suede & Real Red inks
Large Label (3 bumps) & small pinecone die
seal/dimensionals/mini dimensionals
- Fold the card & stamp in Soft Suede ink the main pinecone all over the front of the card
- Stamp in crumb cake ink the fill in for the pinecones
- Cut the base of 2 pinecones in crumb cake 1 ¾”x2 ¼”
- Cut 2 details pinecones dies & adhere with glue
- Stamp the sentiment centered in Real Red ink BW 4”x 2 ¼” & cut the large label die
- Adhere with dimensionals lower third of front of the card.
- Adhere the pinecones with glue to the label & add mini-dimensionals
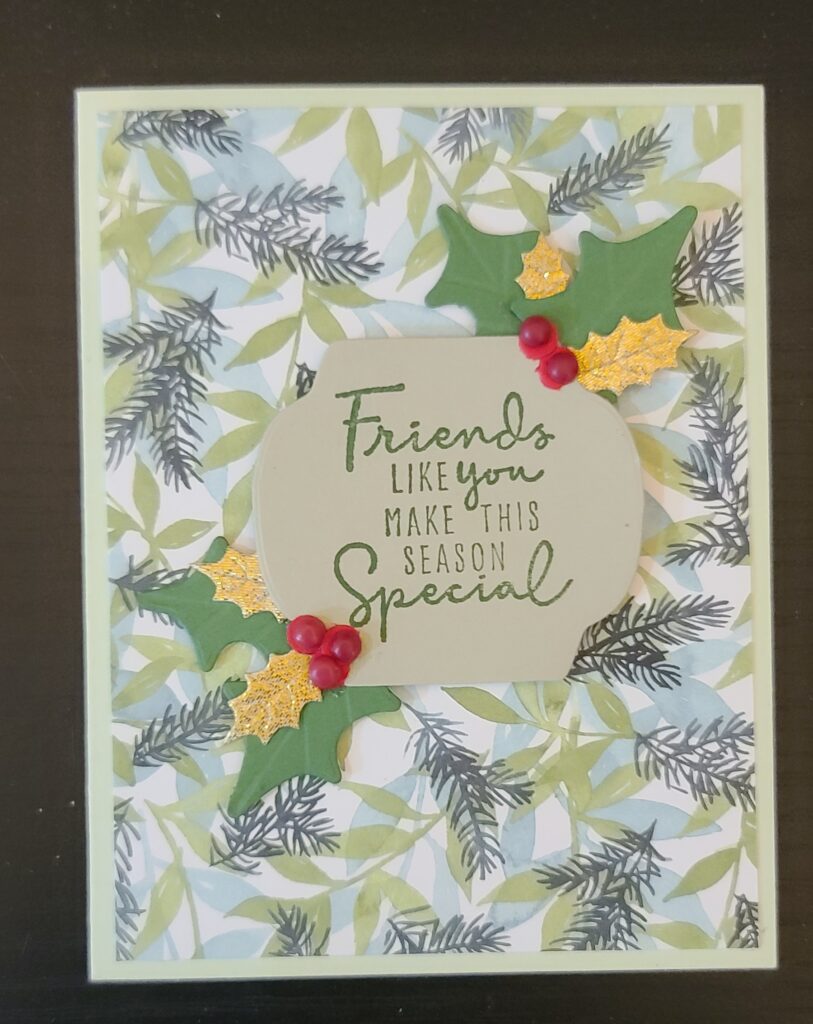
Soft Sea Foam base 5 ½”x8 ½” score 4 ¼”
Garden Green 4 ¼” square
Crumb Cake 3” square
Basic White (BW) 5 ¼”x4”
Painted Christmas DSP 5 ¼”x4”
Matt decorative dots
Large Label & holly leaves die
Gold holly leaves
Seal/dimensionals/glue
- Adhere the DSP to the front of the card & set aside
- Stamp (centered) the sentiment Crumb cake 3” square. Use the label die to cut the sentiment
- Cut 2 sets of holly leaves with the dies…you can score the leaves or leave them without
- Adhere the leaves to the bottom left and top right with glue. Add the gold holly leaves with glue
- Adhere the label to the front of the card with dimensionals
- Add the matt decorative dots over the holly leaves on the label
Real Red base 5 ½”x8 ½” score at 4 ¼” & 2 ½” square
Basic White 2 ½” square & 5 ¼”x4”
Soft Suede 6”x 4”
Crumb Cake 6” square
Gold Foil 5 ¾” x 4 ¼”
Fir Dies & Pinecone dies
Garden Green & Real Red inks
Glue/Dimensionals/seal
- Cut the fur die with the gold foil and adhere to the front of the card with glue
- Cut the pinecone bases out of Crumb cake. I think there 3 large and 5 small
- Cut the detail from the soft suede & adhere with glue to the bases
- Adhere the pinecones to the areas they are designated on the fir
- Stamp sentiment on BW 2 ½” square in Real Red ink (a little lower than I did) & die cut with the label
- Die cut the real read 2 ½” square with same die label. Cut in half and adhere to the sentiment. Adhere with dimensionals to the front of the card
- Adhere the 5 ¼”x4” inside card
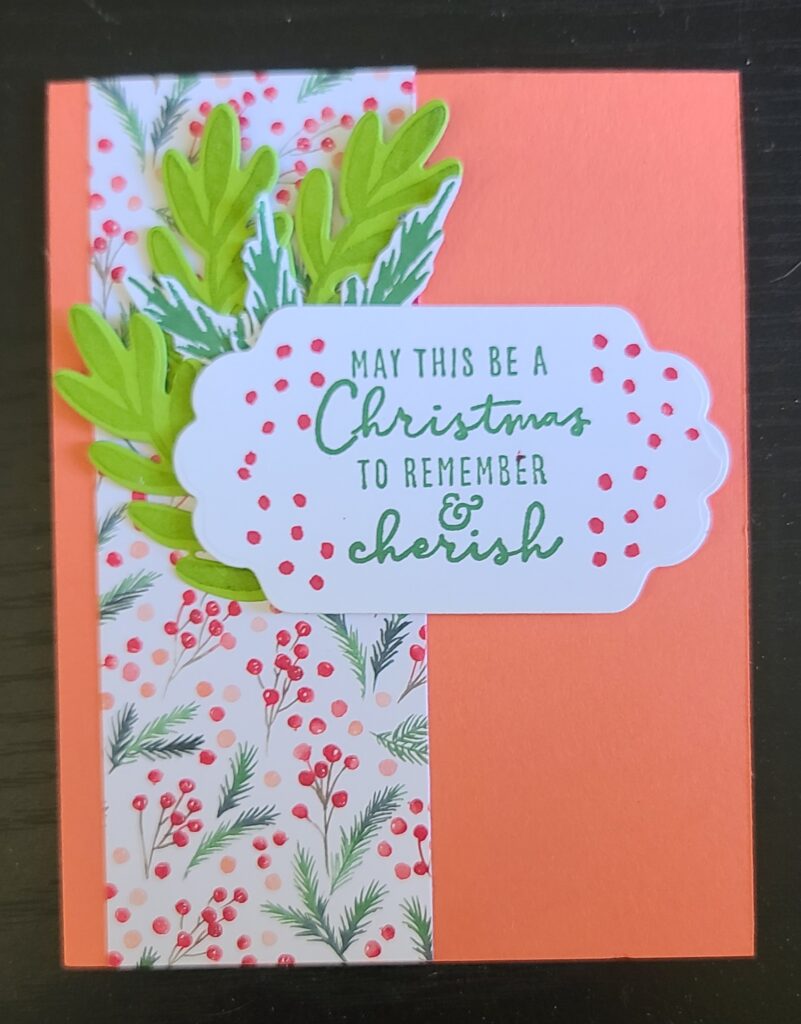
Calypso Coral 4 ¼”x11” score at 5 ½”
Basic White (BW) 5 ¼”x4” & 4” square & 1”x 4 ¾”
Painted Christmas DSP 2”x 5 ½”
Granny Apple Green (GAG) 4″ square
Large Label (3 bumps) & leaf dies
Granny Apple Green & Garden Green & Real Red inks
Seal/dimensionals/glue snips
- Stamp the sentiment centered on 4” square & cut with the Large label die. Add Real Red dots on the sides & add dimensionals to back of label
- Adhere with DSP with seal to the left side of the card with ¼” reveal
- Adhere the sentiment
- Stamp the leaves on the GAG ink 3 times & Cut with the dies. Stamp in garden green fir branches on the BW 1”x4 ¾” – fussy cut these
- Adhere to left side of the label the bigger leaves with glue, adhere the fir branches with glue
Get your crafty on!
Get your crafty on!
Francine Wilson
Independent Stampin’ Up! Demonstrator
Stampscrapgo.com
Facebook.com/stampscraogo
[email protected]
Product List

