Ocean Front & In Your Words
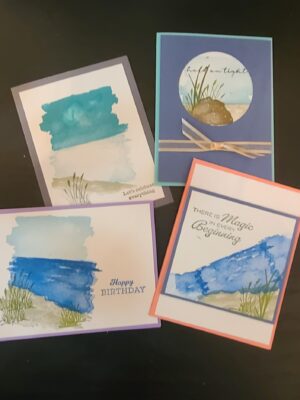
Flirty Flamingo 4 ¼”x11” score 5 ½” Misty Moonlight 4” x 3 ¾”Basic White (2) 5 ¼”x4” & 3 ¾”x 3 ½” Tasteful Textile Emb Folder Sahara Sand/Pacific Blue/Memento Black/Old Olive Seal/dimensionals Take 1 of 5 ¼”x4” place it inside the card Take 1 of 5 ¼”x4” place inside the Emb Fldr, run thru emboss machine. Adhere to the front of the card Stamp sentiment in the upper left in Memento Black Use Sahara sand on the right side. PacificRead More→
Last Chance Product!
December 31st is the last day you can get your Last Chance Products…There are some things that will carry over, they are listed here too. Click on the list to make it bigger and Shop now!
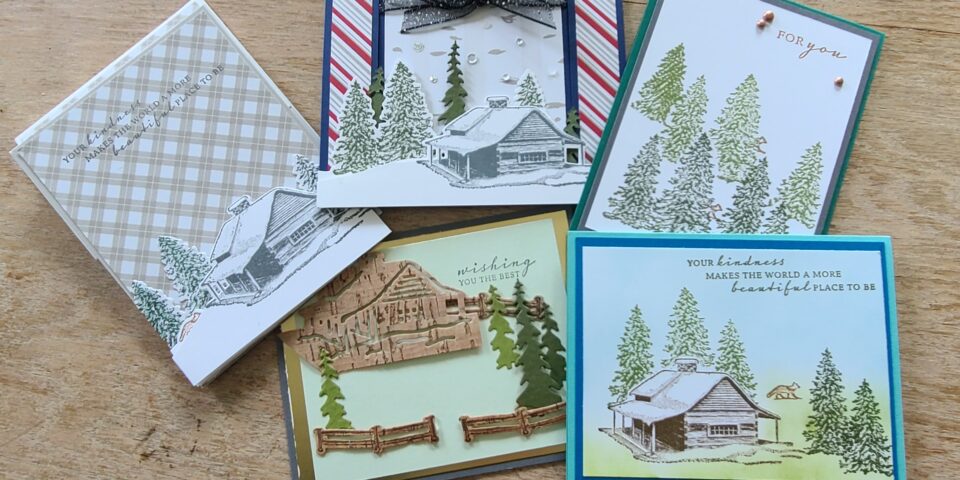
Peaceful Cabin Bundle
Night of Navy base 5 ½”x 8 ½” score at 4 ¼” Peaceful Prints (4) ¾”x4” & 4”x 3 ¼” Basic White (BW) 3 ½”x4” & 5 ½”x 3 ¼” & 5 ½”x 3” Mossy Meadow 1”x 6” Ribbon – black glittered organdy 20” Shimmer Sequins Mossy Meadow & Basic Grey inks Seal/dimensionals/mini-dimensionals From the 4 ¼” score line – at 1” cut to the end of the front of the card Adhere the ¾”x4” DSP on either side ofRead More→
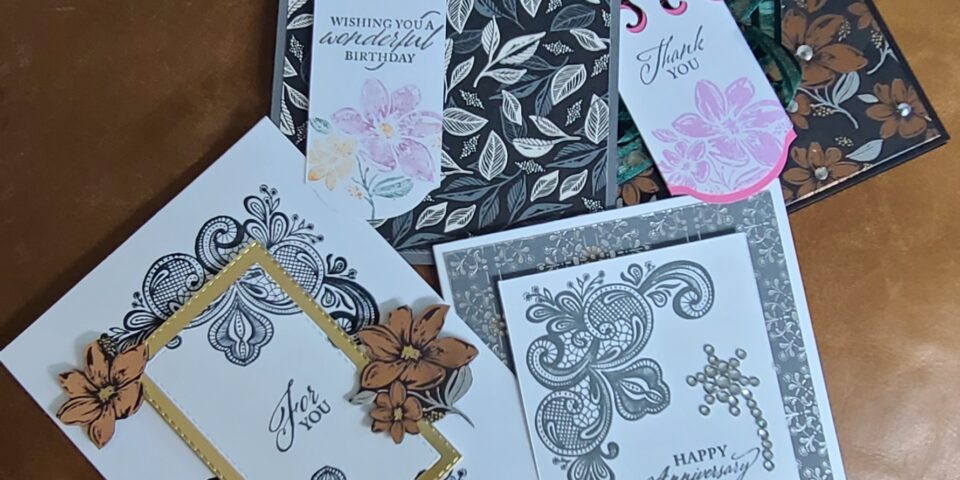
Elegantly Said suite
Thick Basic White 4 ¼”x 11” score 5 ½” Basic White 2 ¼” x 3 ½” Gold Foil 2 ½”x 3 ¾” Designer Series Paper to cut out copper flowers Tuxedo Black ink Stitched Rectangles Seal/Dimensionals Die cut the gold foil with #6 stitched rectangle Die cut the BW with #5 stitched rectangle Use Stamparatus to stamp the Filigree on both BW & card base with Tuxedo Black ink in the upper right & lower left corners. Adhere the BWRead More→
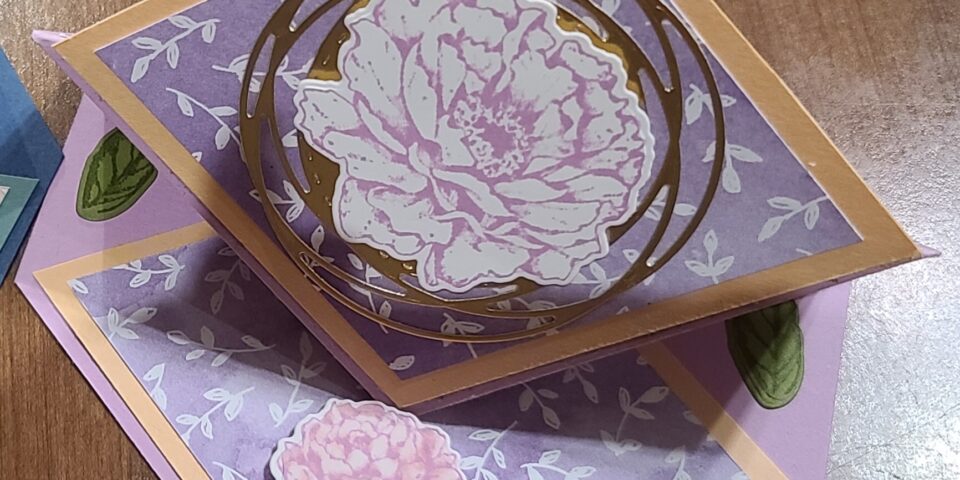
Prized Peony
Card base 5 ½”x 8 ½” score 4 ¼” & 2 ¼” on the front of the cardCard stock 5 ¼” x 1 ¾”, (2) diamond 3 ¼” on all sidesOld Olive 4” square for leaves Basic White 5” x 1 ½” Designer Paper 5 ¼”x 1 5/8”, (2) diamonds 3” on all sidesAdhesive sheets & Gold foil paperSeal/dimensionals/glue Make tic marks at 2 ¼” from the back of the card Make tic marks at 2 ¾” on either end ofRead More→
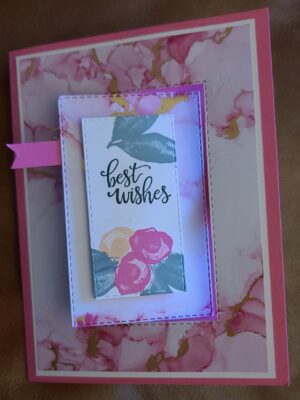
Artistically Inked Suite
Swing fun fold card Base 5 ½” x 8 ½” score 4 ¼”, 6” x 5 ½” score 2” & 4” on 6” sideSame color as base ¼” x 2”Basic White 4” x 5 ¼”, (2) 1 ¾” x 5 ¼”Designer Paper 3 ¾” x 5”, save a strip of DSP ¼” x 5 ¼”Stitched Rectangle #4, #5, #7 from outsideSeal/Dimensionals/glue/tear tape First, you need to remove the center of the BW 4”x5 ¼” with stitched rectangle #4, then useRead More→
Sweet Ice Cream Suite
Thick Basic White card base 4 ¼”x11” scored at 5 ½” Sweet Ice Cream bundleIce Cream Corner DSP (3) 2”x 2 ½”Blackberry Bliss/Terracotta Tile/Bumble Bee/Pool Party ink padsDimensionals Blackberry Bliss marker On the horizontal – stamp BIRTHDAY in the lower right corner of the card in BlackBerry Bliss Stamp Ice Cream toppers in pool party/terracotta tile/bumble bee inks randomly On to the DSP…you are going to punch out 5 cones and using a marker, stamp each letter of HAPPY onRead More→
Sweet Strawberry Bundle
Here I show you two cards with the Sweet Strawberry bundle. They are both simple cards and very easy to follow with the video. Thick basic White 4 ¼”x11” Scored at 5 ½”Sweet Strawberry stamp setMossy Meadow/Petal Pink/Granny Apple Green inksPetal Pink blendsSeal Use the vine with flowers to stamp all around the outer edges using granny apple green & mossy meadow ink Use the details flowers to stamp full strength Petal pink ink around & in between the vines. Read More→


